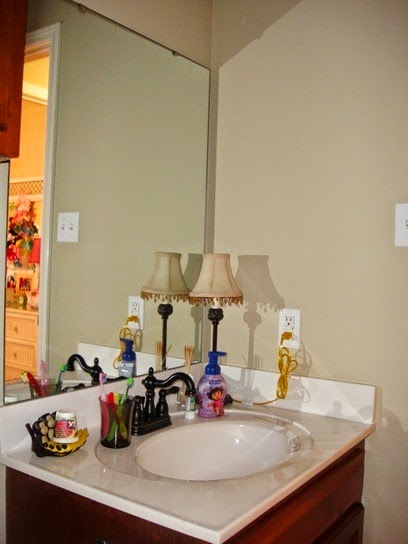
Unfortunately, I don't seem to have gotten a good picture of the mirror before. I did find a picture from when we bought the house though (from when the previous owners lived here).
See, very basic, pretty boring.
Our mirror was attached with these little clips. Drew slid a putty knife under one of the hooks and lifted it by gently tapping the bottom with a hammer.
After he got one up, I held it in place while he repeated the process on the other side. Once the mirror were free from the upper clips, we pulled it forward and up, lifting it out of the bottom clips.
Since it was a two person process, there are no pictures of this. Can you teach dogs to take pictures?
Also, note that our mirror was not attached to the wall with any kind of glue. I imagine that would have made the process more difficult.
These are the clips that were holding the mirror in.
There's a screw in the center. We unscrewed the clips from the wall and were left with what looked like sheet rock anchors. The tops ones we just left, since they would be hidden by the new mirror. The bottom ones we covered using a sheet rock repair kit.
To get the placement correct, Drew held the mirror in place. I made a pencil mark along each side and one each end at the top. We measured how far it was from the top of the mirror to the hook, and duplicated this measurement from the top line down. We did the same thing on each side. We made our pencil marks, used a level to make sure we were even, and nailed in the hooks. With each of us holding the mirror, we hung it carefully on the wall. Ready for the finished looked?
Looks pretty good, huh? (That snazzy new vanity top and faucet don't hurt either, do they?) Needless to say, I'm loving how this bathroom is turning out!


No comments:
Post a Comment